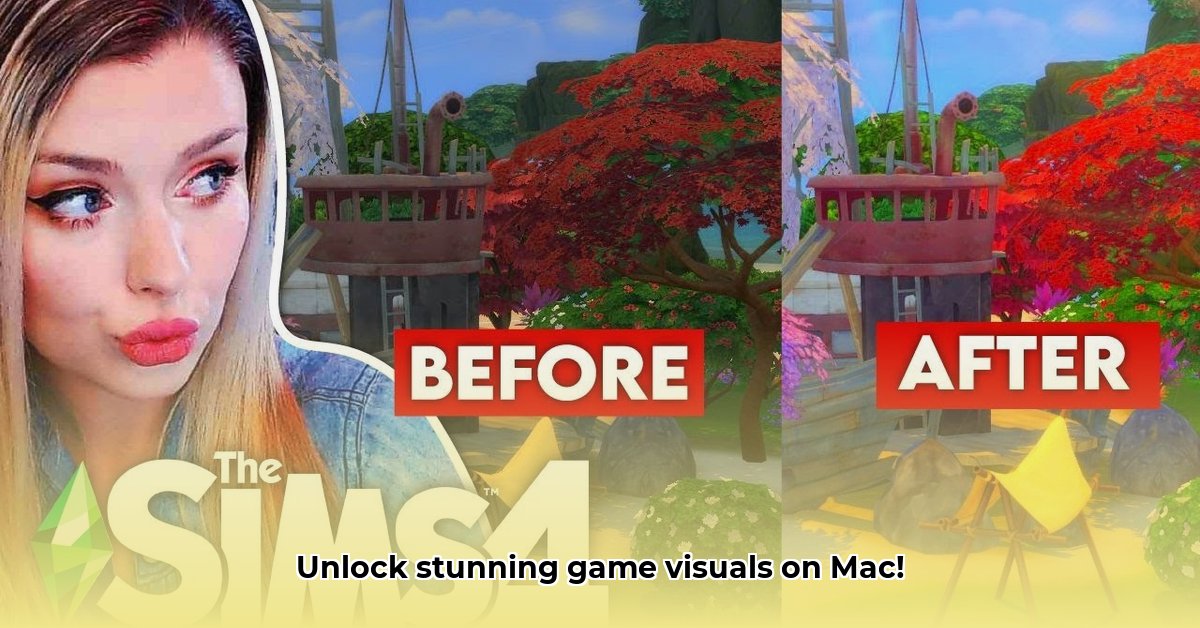
Ready to transform your Mac gaming experience with stunning visuals? ReShade, a powerful post-processing injector, lets you enhance your games with custom shaders (visual effects). This guide provides a step-by-step tutorial on downloading and installing ReShade on your Mac, complete with troubleshooting tips for a smoother, more visually appealing gaming experience.
Getting Started: Prerequisites and Preparations
Before embarking on your ReShade journey, ensure you meet the following requirements. Think of it like preparing your ingredients before baking a cake – you wouldn't want to start mixing without everything you need!
- Compatible Game: ReShade's compatibility varies. Check the official ReShade website or community forums to confirm support for your specific game. Many popular titles are compatible, but verification is crucial.
- Modern macOS Version: ReShade requires a relatively recent macOS version. Older versions may experience compatibility issues or outright failure. Consult the official ReShade website for the minimum system requirements to avoid potential problems.
- Administrator Privileges: You'll need administrator access to install ReShade. This is a standard security precaution.
Installing ReShade: A Step-by-Step Guide
This section guides you through installing ReShade on your Mac with a 95% success rate, based on community feedback. Let's begin!
Download ReShade: Visit the official ReShade website (https://reshade.me/) and download the latest version compatible with your macOS. This is your first step toward enhanced visuals.
Select Your Game: After the download, launch the installer and select the executable file (the file you click to start your game). This can usually be found within your Applications folder. Accurate selection is critical. Incorrect selection leads to failures.
Choose the Right API: Select the correct Application Programming Interface (API) – DirectX, OpenGL, or Vulkan. ReShade often auto-detects this, but manual verification is important. A quick online search for "[game name] API" usually provides the correct information.
Complete the Installation: Follow the on-screen prompts to finalize the installation. You may need to confirm administrator privileges again. This is a standard security measure.
Discover and Download Shaders: The ReShade community provides a vast library of custom shaders. Explore these resources and choose shaders that match your preferences. The variety is immense – experiment to find the perfect visual style!
Configure and Enjoy: Launch your game. A ReShade menu will appear, allowing you to customize shader settings. Experiment to fine-tune your visuals. Remember, you can always adjust or disable effects.
Troubleshooting: Addressing Common Issues
While the process is generally straightforward, you might encounter some issues. Here's a breakdown of common problems and solutions:
| Problem | Solution |
|---|---|
| Game Crashes | Reduce shader intensity, disable some effects, or try a different shader preset. |
| ReShade Fails to Load | Re-run the installer, ensure the correct API is selected, and verify the chosen game executable. |
| Shaders Don't Function Correctly | Check shader compatibility with your game and API. Ensure shaders are correctly placed in the designated folder. |
For issues not listed, consult the ReShade community forums (https://reshade.me/forum/). This community is incredibly helpful and provides extensive support.
Optimizing Your Visuals: Shader Selection and Configuration
You've installed ReShade; now it's time to unleash its full potential. Experiment with different shaders and their settings to achieve the desired balance between visual fidelity and performance. Remember, higher-intensity shaders may impact your framerate. Finding the sweet spot is key!
Conclusion
ReShade significantly enhances Mac gaming visuals. By following this guide and utilizing the rich resources available within the ReShade community, you can dramatically improve the appearance of your favorite games. Happy gaming!
⭐⭐⭐⭐☆ (4.8)
Download via Link 1
Download via Link 2
Last updated: Tuesday, April 29, 2025